Imagine this: no clutter on surfaces, everything within arm’s reach, and no wasted time darting across the room for supplies. As teachers, we know how quickly things can spiral into chaos, but these wall pockets? They’re like a secret weapon against the mess.
It’s a simple idea. These sturdy cardboard boxes are scattered on the wall around my room, storing all the essentials I need throughout the day. They keep everything neatly tucked away, off the desk and out of sight, ready whenever I need them. Best of all, you can hang them wherever they’re most convenient for you.
I’ve relied on these clever wall pockets in my classroom for years. The idea struck me during my early teaching days when budgets were tight. It’s become one of the most cost-effective and efficient methods for keeping my classroom tidy and organized.


It’s incredible how quickly our desks can descend into chaos. And that’s just the beginning. What about the reading corner, the morning meeting spot, or the space where we lead guided reading groups? It’s like a tornado ripping through your room, like a whirlwind of scattered papers and misplaced supplies, turning order into chaos in no time. Who wants to spend their lunch hour organizing and putting everything away?.
I hope I convinced you to try these. They’re so simple to make and look so cute in a classroom. This year, I jazzed them up with little denim pockets from Ashley Hughes and incorporated amazing clipart from so many of our talented artists on TPT.
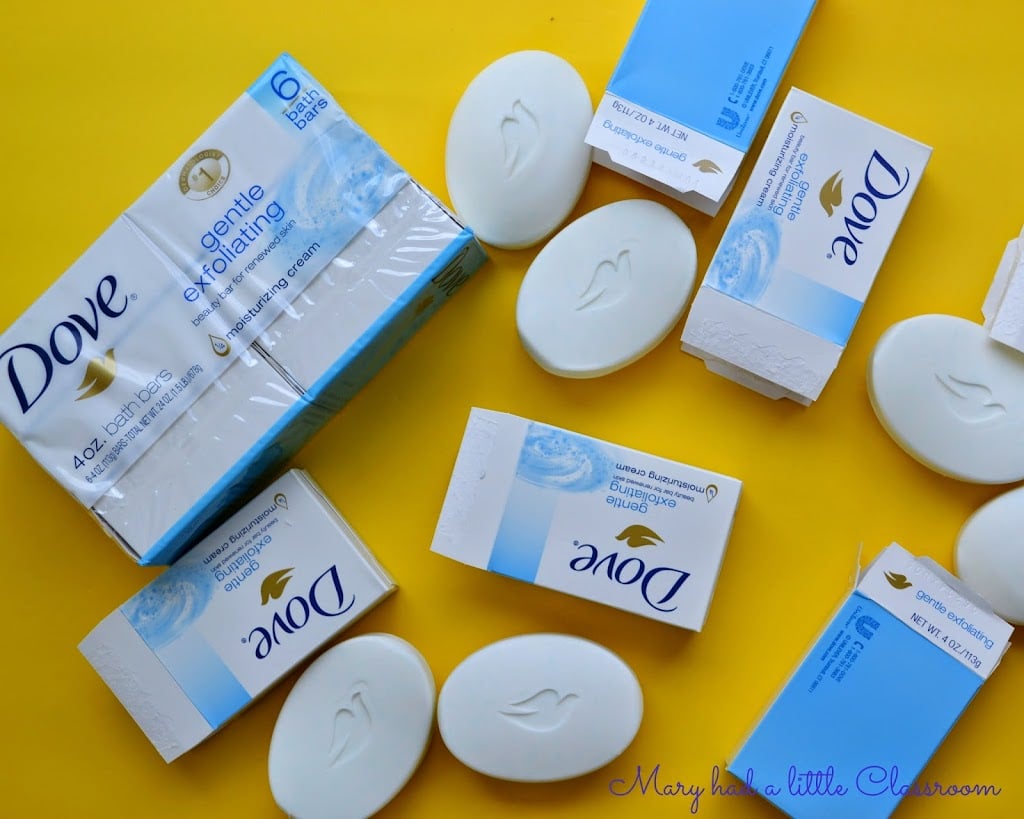
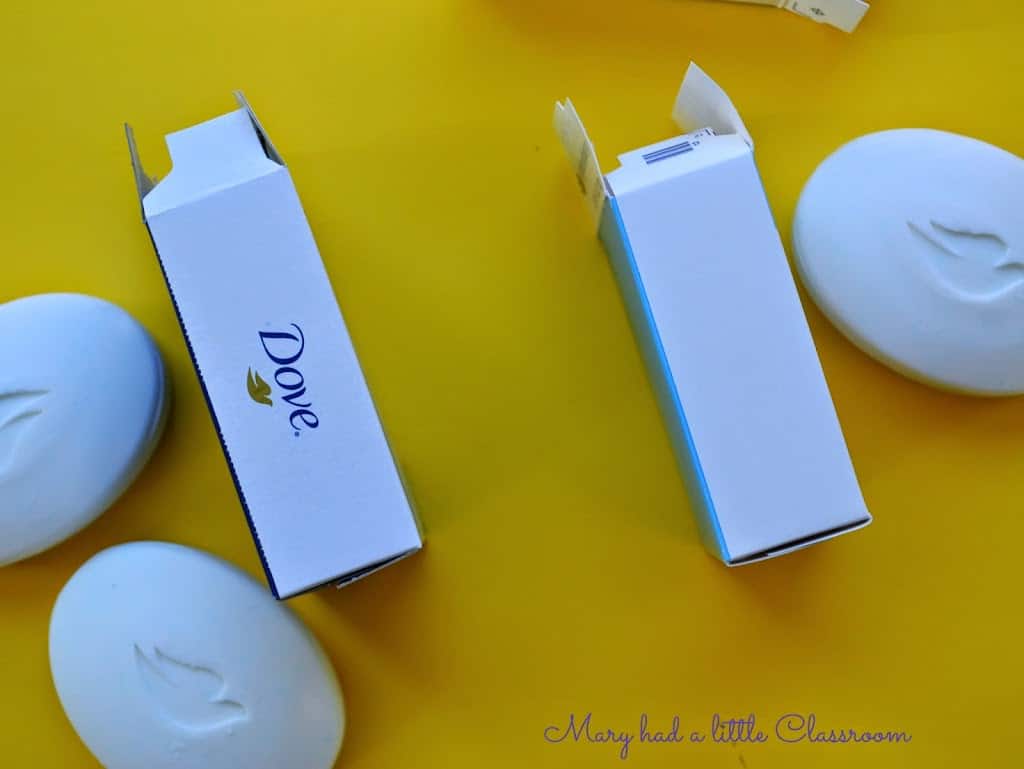
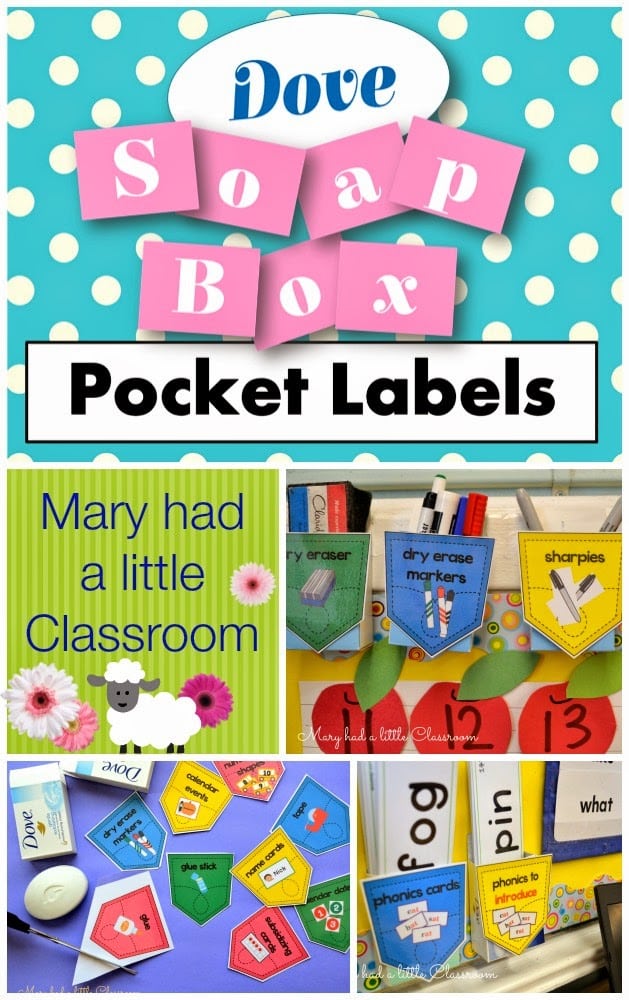
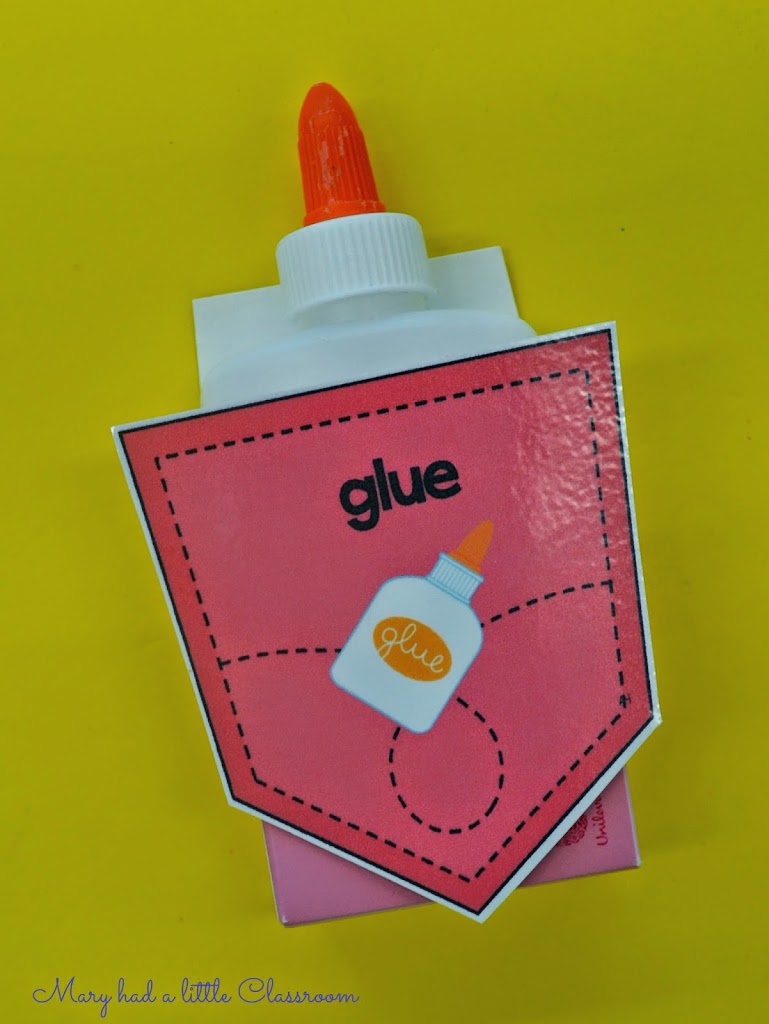
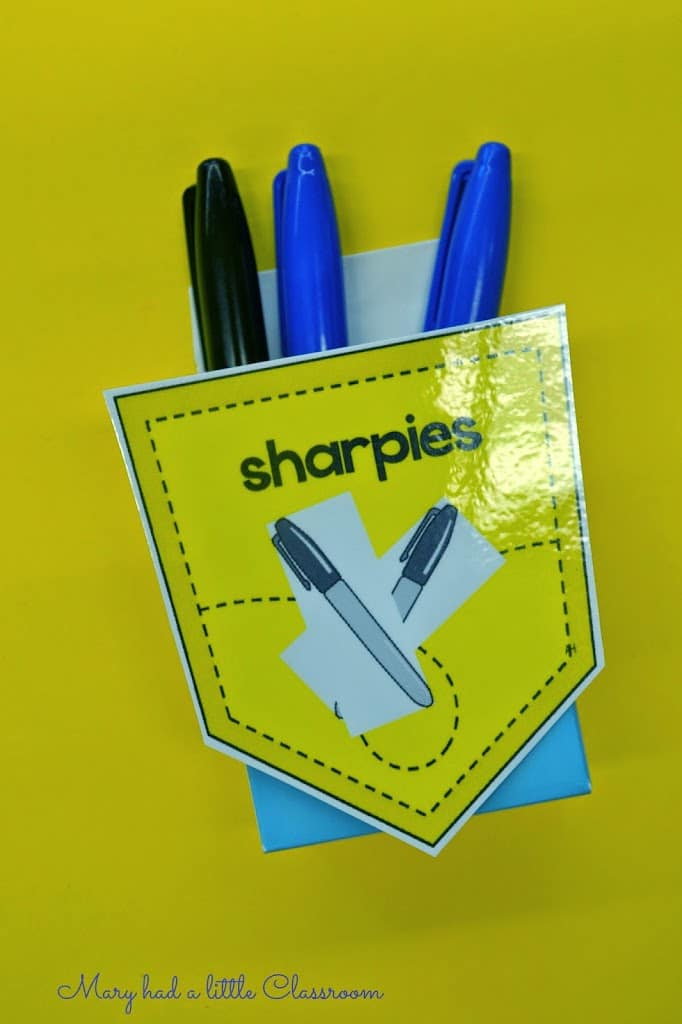
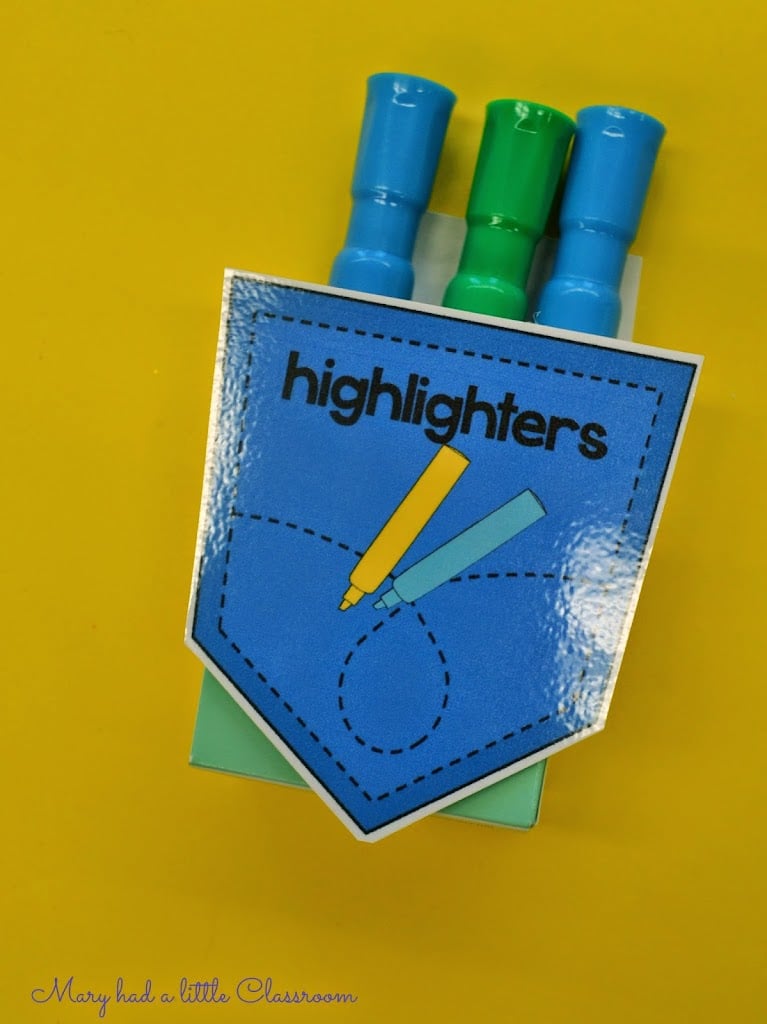
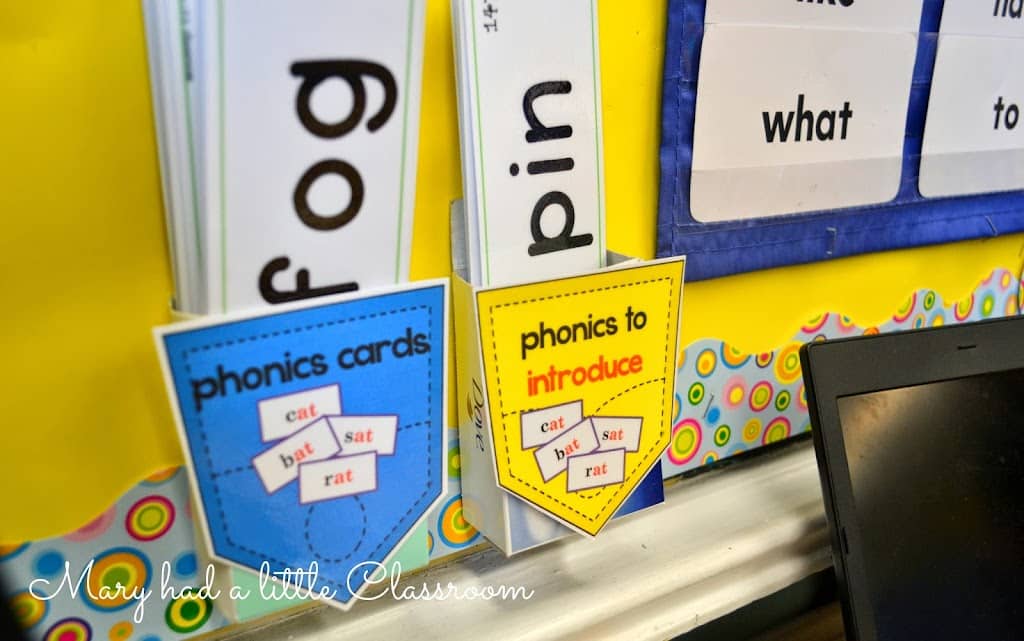
If you buy individual boxes, you get the lettering on the side. I prefer not to use lettering, so I buy soap from the carton, and the boxes are free of lettering.
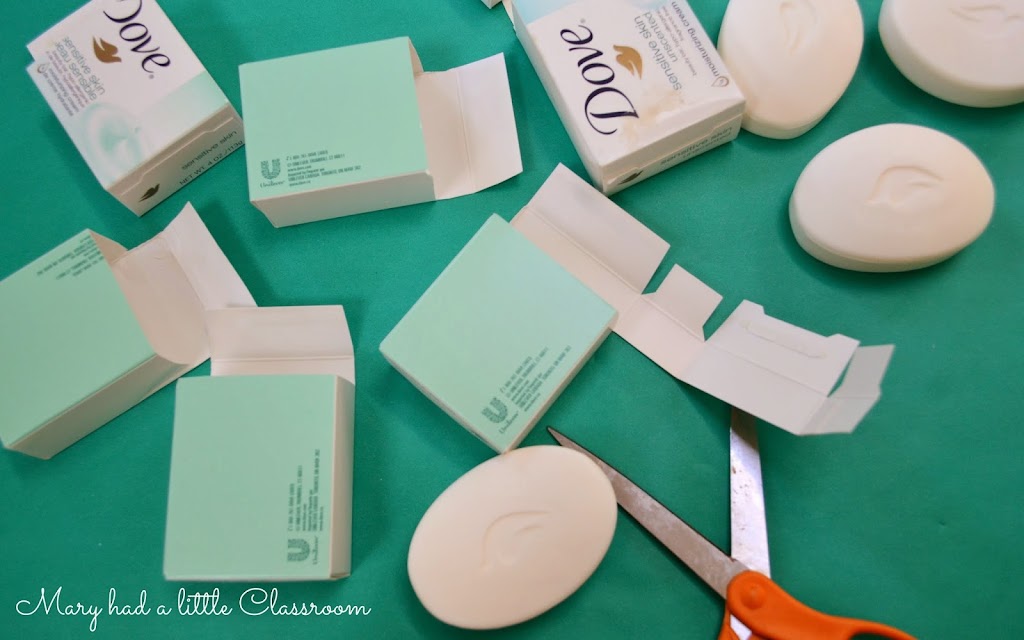
When you open the soap, open it at the correct end. One end has straight tabs, and the other end has irregular tabs. I open it from the end where the tabs are straight, cut off all but the tallest tabs, and hang the boxes from that tab.
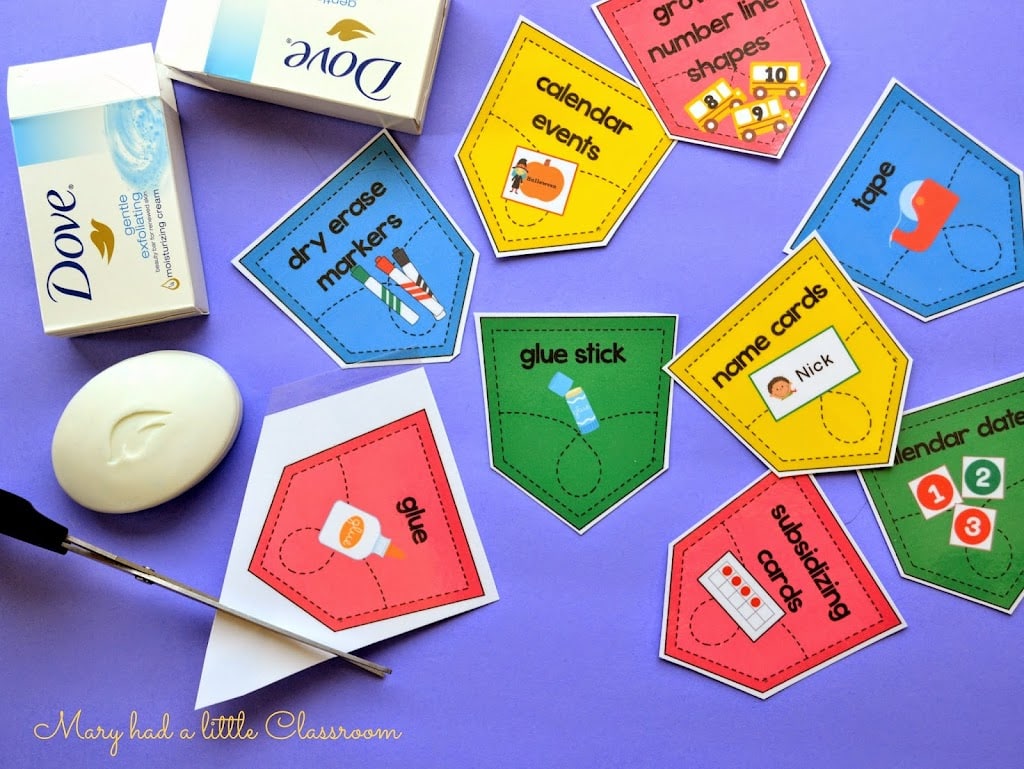

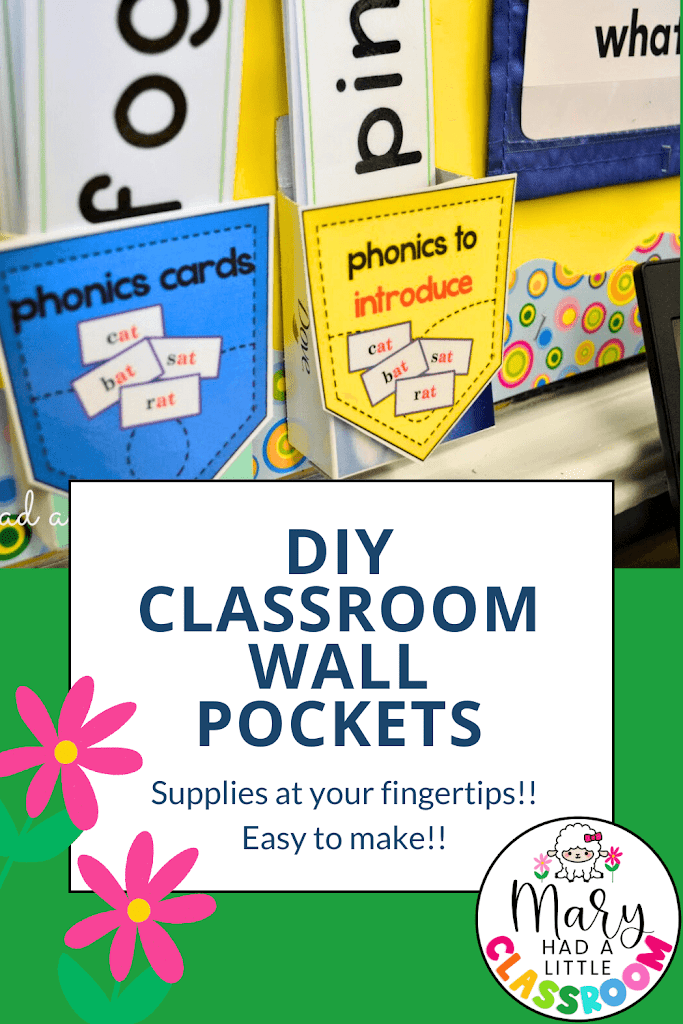
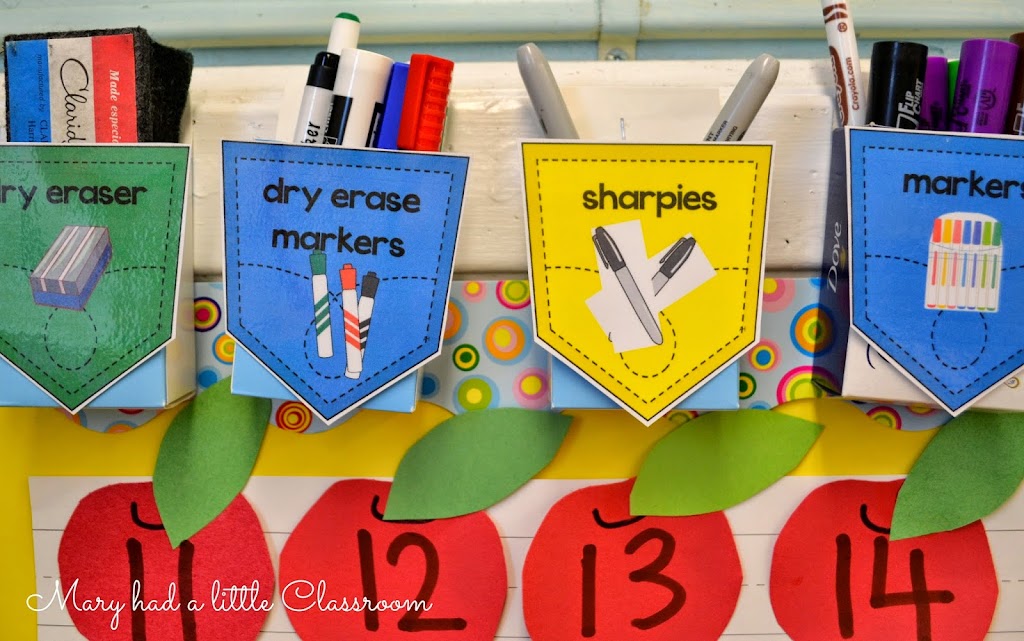
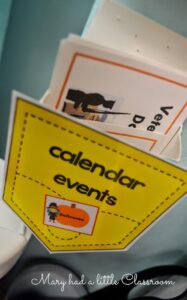
As you can see, I made pocket labels for every imaginable object you could hang in your classroom. Not only for markers and things like that but also for flash drives, glasses, keys, and lots of different flashcards, word cards, and activity cards.

After cutting out the pocket labels that I want and trimming the soap box tabs, I hot glue the labels onto the boxes. It’s that simple. Make sure the tops of the labels are aligned with the top of the box opening.
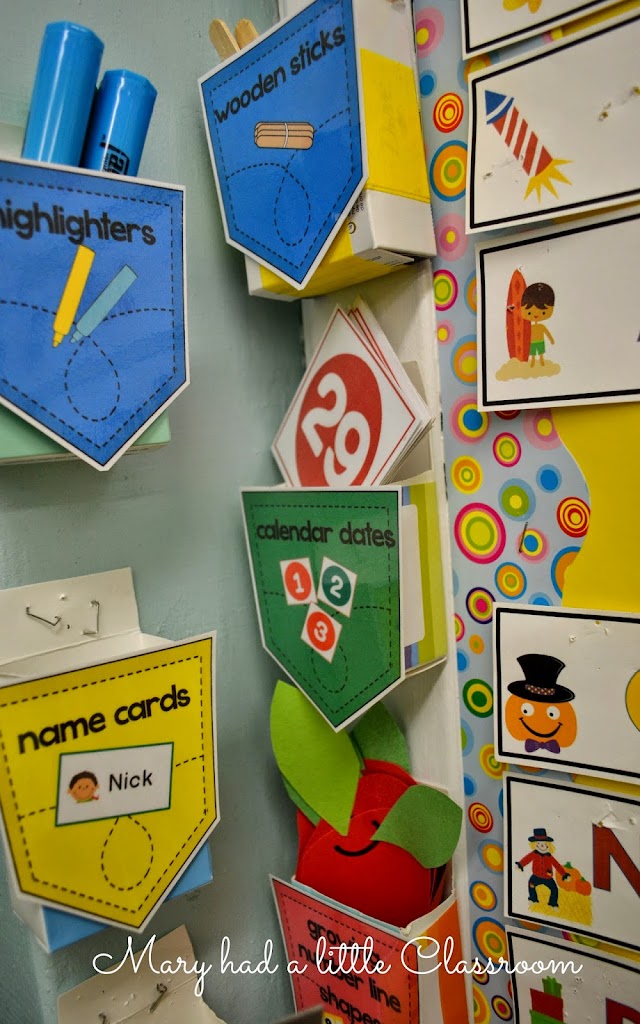
Then, I have fun hanging them up and filling them. I use a heavy-duty stapler to staple them into bulletin board frames, wooden closet doors, window frames, old chalkboard frames, or anywhere else I can think of where I would need my supplies. I even have a pocket for my reading glasses. They’re always there when I need them.

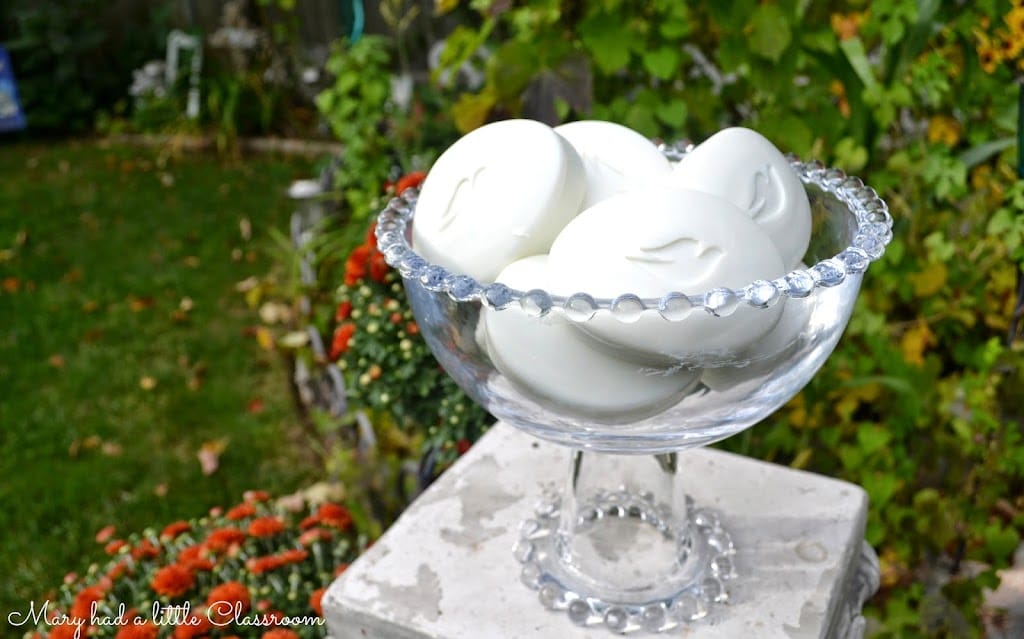
What to do with all the bars of soap? Put them in a lovely bowl and display them in your bathroom.
If you do use these and you find that I forgot to include something, please let me know. I’d be happy to add it to the set.